Synology NAS
Install OpenVPN on a Synology NAS
1. Disable IPv6
- In order to connect to OVPN - you will first need to disable IPv6.
Only displayed once logged in.
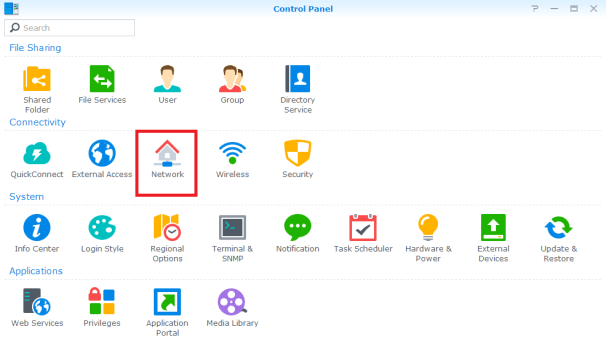
2. Open your Synology control panel

3. Click Network
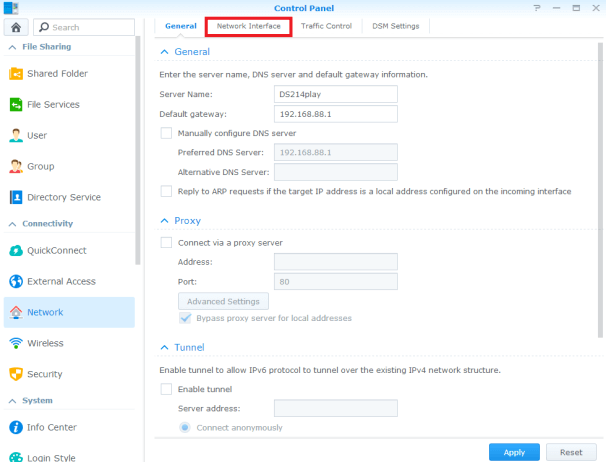
4. Click Network Interface tab in the menu
5. If you have earlier VPN-profiles you need to delete them before proceeding
- If you do not have any earlier VPN profiles, you can go to the next step.
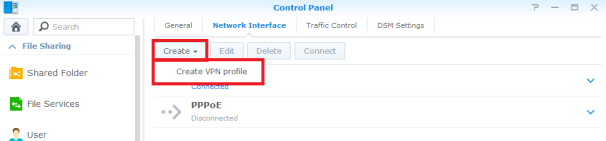
6. Create VPN profile
- Click Create and choose Create VPN profile.
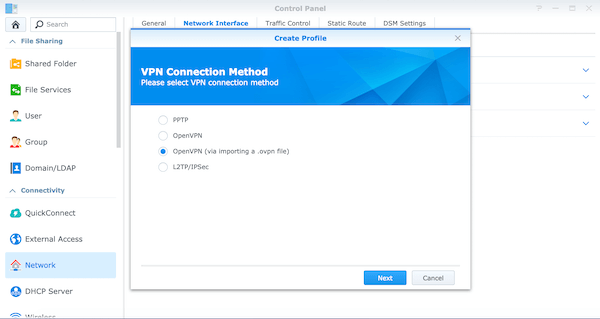
- Choose OpenVPN (via importing a .ovpn file) as your VPN Connection Method. Go to the next step.
7. Enter your login credentials
| Profile name | OVPN |
|---|---|
| Username | (enter your username for OVPN) |
| Password | (enter your password for OVPN) |
| Import .ovpn file | The downloaded configuration file |
| CA certificate | (leave blank) |
Then click Next.
9. Continue configuration
- In the next step, you need to enter the advanced settings. Make sure the following settings are chosen:
| Use default gateway on remote network | Chosen |
|---|---|
| Allow other network devices too | Do not choose |
| Reconnect when the VPN connection is lost | Chosen |
10. Connect
- It is now time to connect to OVPN. Choose OVPN in the network interface list and click Connect
11. Finished
- Congratulations! Now your Synology NAS will connect to CloudLAN Room automatically when it is started.
- You should now see your Status as Connected. If not, contact customer support and we will help you get started.
info
Got a question not answered in this knowledge base?
Contact us at [email protected] or "chat with support" from our website or inside the app